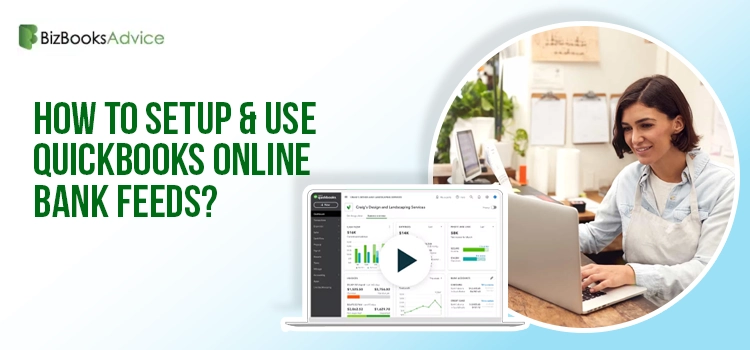
How to Setup & Use QuickBooks Online Bank Feeds?
QuickBooks bank feeds make the bookkeeping easier by automatically connecting your bank or credit ca......
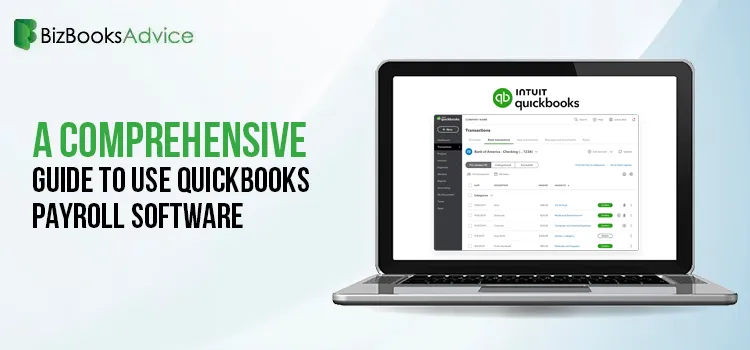
Elevate Your Business Efficiency with QuickBooks Payroll Software
Business owners often find the task of processing employees’ payroll a bit challenging and tim......
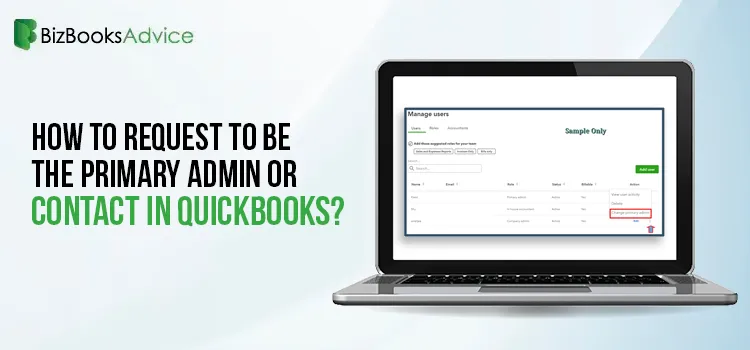
Learn How to Request to be the Primary Admin or Contact in QuickBooks Desktop
While performing a business transition, it’s essential to “request to be the primary admin or co......
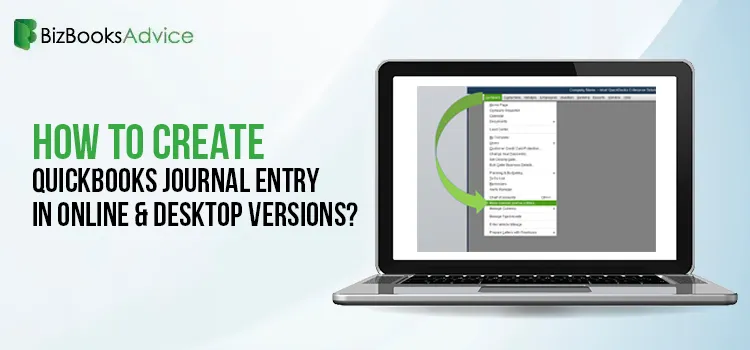
QuickBooks Journal Entry: How to Create, Delete, or Manage It?
Journal entries is crucial part of accounting that help businesses record transactions, monitor debi......
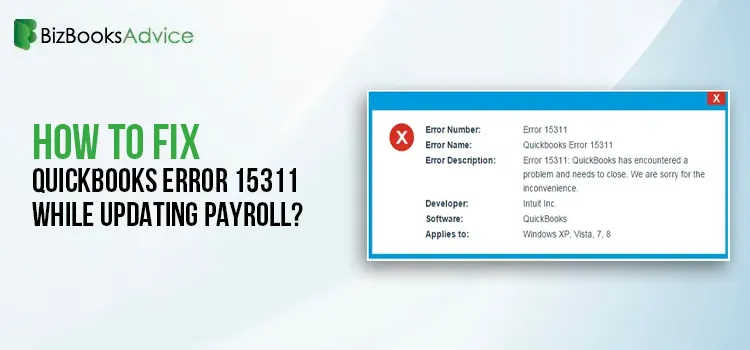
QuickBooks Error 15311: How to Fix Payroll & Desktop Update Issues
Are you stuck with QuickBooks Error 15311 and unable to download the latest payroll updates? This er......

Safely Move Your Data With the Help of QuickBooks Migration Tool
Moving and managing your accounting data safely from one version to another is a crucial and challen......

Quick Steps to Unapply a Credit Memo in QuickBooks Desktop
Have you recorded a payment twice or accidentally overpaid a customer in QuickBooks Desktop? In such......
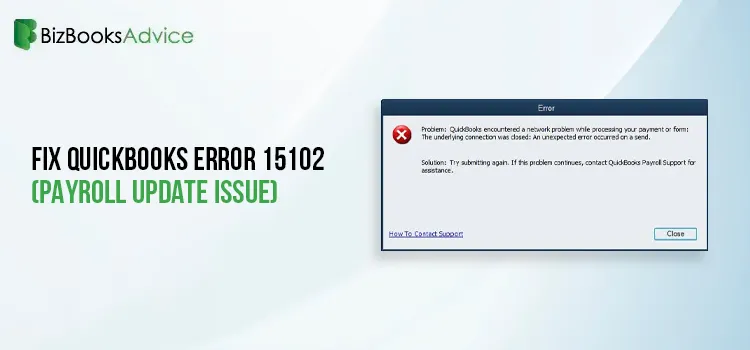
Fix QuickBooks Error 15102: Stop Payroll Update Failures
Are your payroll tasks getting affected due to the issues faced while installing the latest QuickBoo......
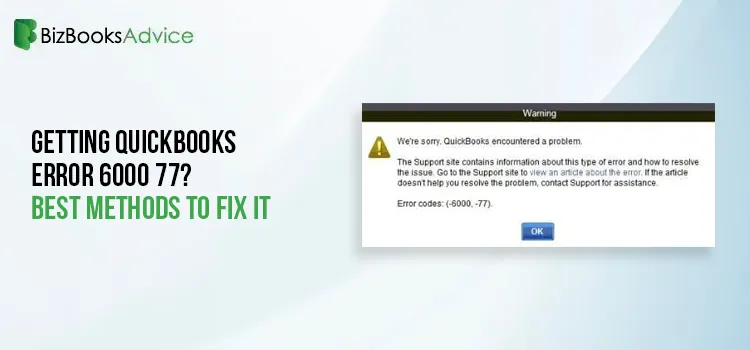
Getting QuickBooks Error 6000 77? Best Methods to Fix It
Does the error message “We’re sorry. QuickBooks encountered a problem. QuickBooks Error 6000 77�......